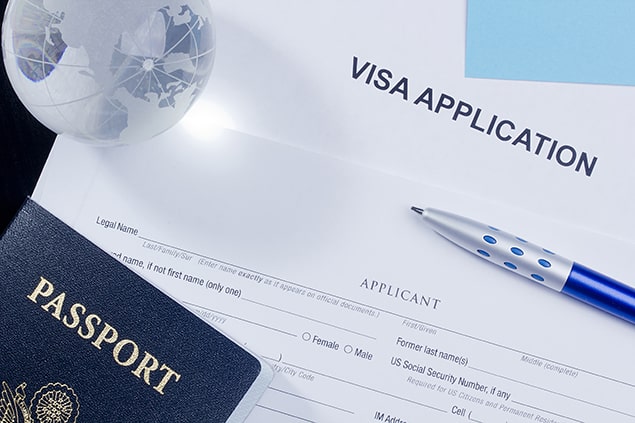
Understanding the U.S. Student Visa Process
Tuesday | January 24, 2017 | by Kaitlin Ramby
You received an acceptance letter from your school of choice and now it is time to celebrate the hard work you put in! But before you begin making travel plans, there is another process you will need to go through before arriving: the U.S. student visa application process.
You should begin the U.S. student visa application as soon as you have been accepted by and decided on attending an institution in the U.S.
Learn more about the different student visas and follow our step-by-step guide on how to complete the U.S. student visa application below:
U.S. Student Visa Types
To be granted a U.S. student visa, your school must be Student and Exchange Visitor Program (SEVP) approved.
There are three types of visas that students can be granted in the U.S.:
- F-1: This is the most common student visa. It is for full-time foreign students who are in the U.S. for purely academic purposes (this is a non-immigrant visa). The students who require this visa will typically be undergraduate and graduate students.
Example: An international applicant who applied directly to and was accepted by a U.S. university would be an F-1 candidate.
- J-1: This visa is specifically for students who are part of an exchange program and are mostly sponsored by an educational or other non-profit institution. This visa is typically seen as a “work-and-study” exchange.
Example: A student who is currently attending a university outside the U.S. and decides to participate in an exchange agreement between their university and an institution in the U.S. would be a J-1 candidate.
- M-1: The temporary M-1 visa is reserved for students who are in the U.S. to attend an accredited non-academic or vocational institution. This could include trade, technical, and/or practical training programs.
Example: A student who is accepted to a culinary program in the U.S. would be an M-1 candidate.
Your institution will tell you which visa to apply for. You can even use your institution as a resource if you need help or advice during the visa application process; don’t be afraid to reach out and contact them.
Note: Students under F-1 and J-1 visas are eligible for employment in the U.S. both during and after school. You can read more about these options in our visa work options post.
The Application Process
Once you have been accepted into an SEVP approved institution and know which visa you need for the U.S., here are the next steps:
1. Complete the eligibility forms.
After you have been accepted into a program, you will need to complete either a form I-20 (for F and M visa candidates) or a DS-2019 (for J visa candidates). This form is your certificate of eligibility for nonimmigrant student status in the U.S. and you will need it to complete the remaining visa application steps.
2. Pay the I-901 Student and Exchange Visitor Information System (SEVIS) fee.
This is a government fee you will need to pay a minimum of three days in advance before beginning your student visa application. The fee for F and M visa candidates is $200 (U.S. dollars), and for J visa candidates it is $180 (U.S. dollars). For a better understanding of the payment process, you can complete the tutorial on the U.S. Immigration and Customs Enforcement website.
3. Fill out the online application.
Once you have completed steps 1-2, you can begin the online nonimmigrant visa application (DS-160). Before starting this application, be sure to prepare all of the materials you will need in advance. These may include:
- SEVIS ID (printed on your form I-20 or DS-2019)
- Passport
- A photo of yourself (see requirements)
- Résumé or CV
- Dates of previous trips to the U.S. in the last five years
- Travel itinerary (if arrangements are already made)
Some applicants may be asked for additional information while completing their DS-160. It is important to note that you can exit the online application at any time and return to complete it later.
4. Pay the application fee.
F, M, and J visa applicants will be required to pay an additional and non-refundable visa application fee of $160 (U.S. dollars). It is important to keep the receipt as you will need it to schedule and bring it to the visa interview.
5. Attend the visa interview.
The last step in the visa application process is to attend a visa interview. You can schedule your interview online, by phone, or with the nearest U.S. embassy or consulate. After completing steps 1-4, be sure to waste no time in scheduling your visa interview. You will need to prepare many items beforehand, which may include:
- Interview appointment letter from the National Visa Center (NVC)
- Passport (must be valid for a minimum of 6 months for your stay in the U.S.)
- SEVIS form I-20 or DS-2019
- SEVIS fee receipt
- Form DS-7002 (For J visa or intern applicants)
- Application fee payment confirmation receipt
- 1-2 color passport photographs (5 cm by 5 cm)
- Confirmation page from DS-160 application
- Transcripts and diplomas from previous institutions attended
- Financial documents proving you have sufficient funds for the program you are attending (i.e. bank statements, tax forms, paychecks, etc.)
- Scores from standardized tests such as GMAT, GRE, TOEFL, IELTS
- Written list of previous employers and schools attended
- Confirmation letter of any financial aid you are receiving for your studies
(i.e., scholarships, fellowships, grants, etc.)
Be sure to verify the documentation you should bring to the interview with your U.S. embassy or consulate. It is very important to attend your scheduled interview on-time; if not early. During the interview, you will be asked questions on several topics, such as your academic experiences, current career goals, your English skills, and more. Read our article on the visa interview to help you prepare for commonly asked questions.
Although the process of coming to the U.S. is not complete after gaining acceptance into a program, knowing which steps you need to take in advance and what you should prepare will make the visa application process much easier for you in the end.
Would you like to share your experiences of completing the student visa application process? Apply for our Student Ambassador Program today!
Do you have thoughts on this article? Share them with us in the comments section below.

Kaitlin Ramby is the former Digital Content Producer and a Contributing Writer for World Education Services.